Craft Corner: Make your own stained glass flowers
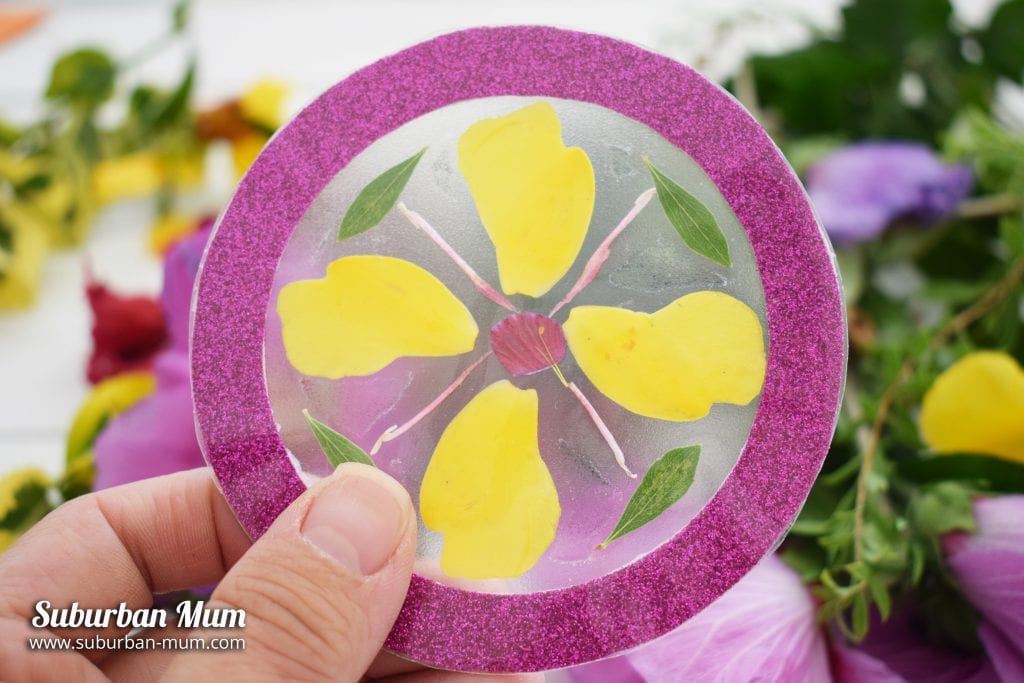
This month’s Bostik theme was “Nature” and I have to say I struggled with this theme! I got some inspiration from our garden and picked out some leaves and flowers and made these stained glass flowers.
They are the perfect craft to keep the kids busy for an hour or so in the Summer holidays and they brighten up your windows too!
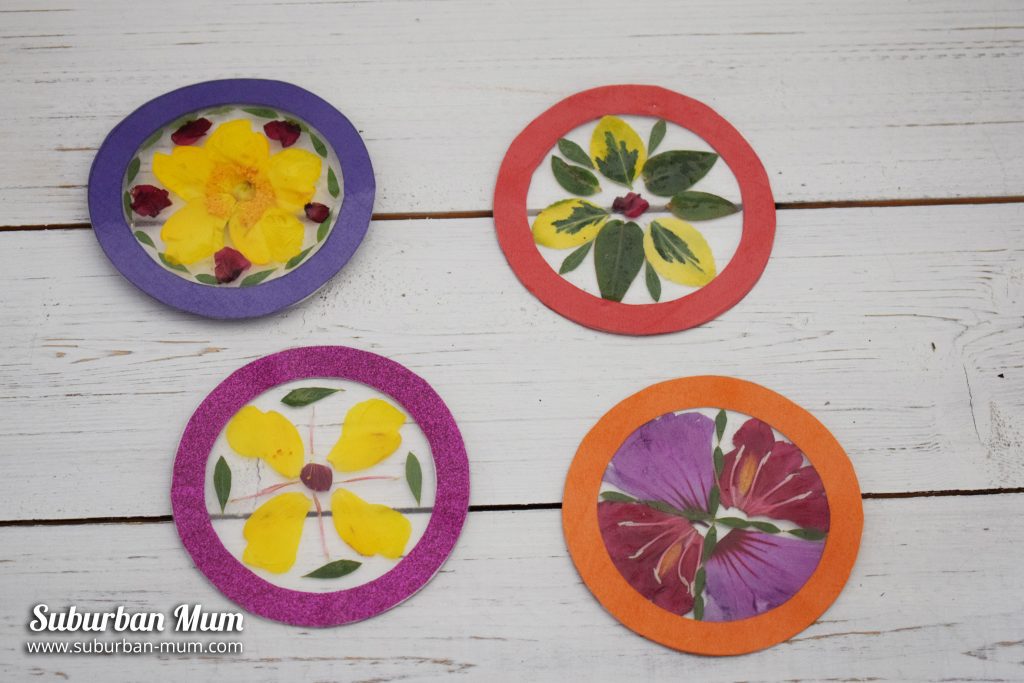
Make your own stained glass flowers
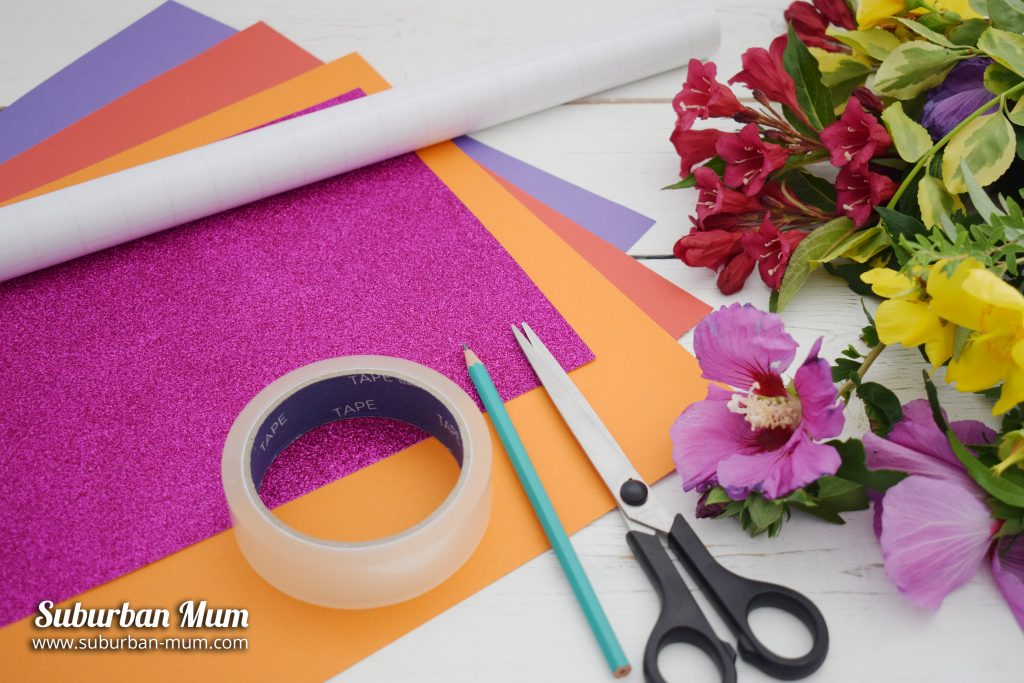
You will need:
- Coloured card
- Sticky back plastic
- Various flowers and leaves – whatever you can find
- Cellotape or any circular shape to use as a border
- Pencil
- Scissors
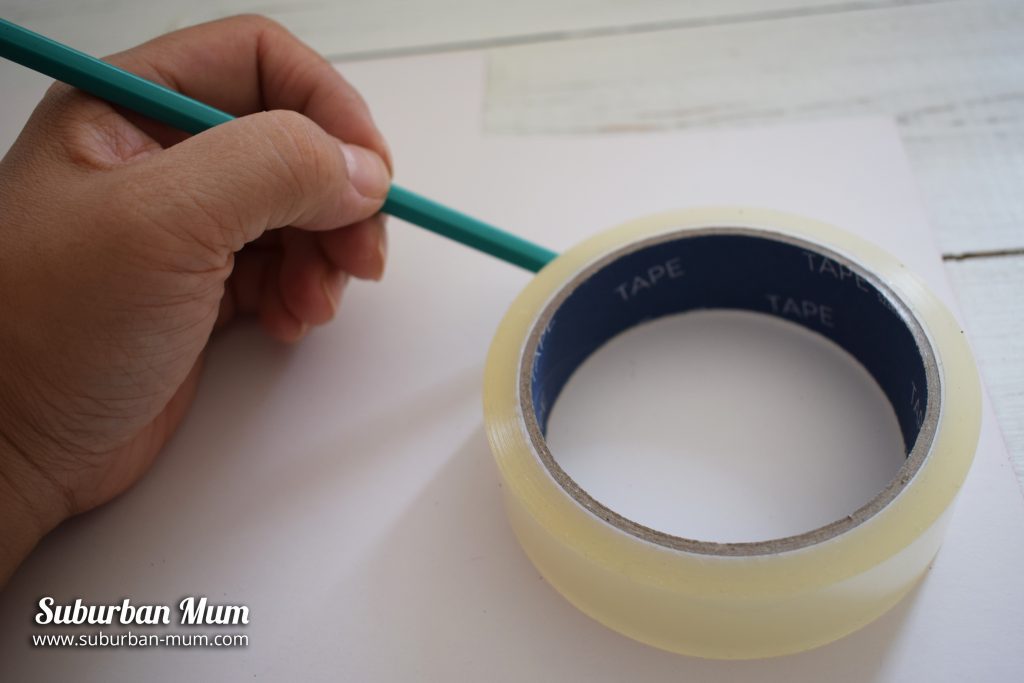
1. Choose the card you wish to use and using a pencil, draw around the Cellotape reel
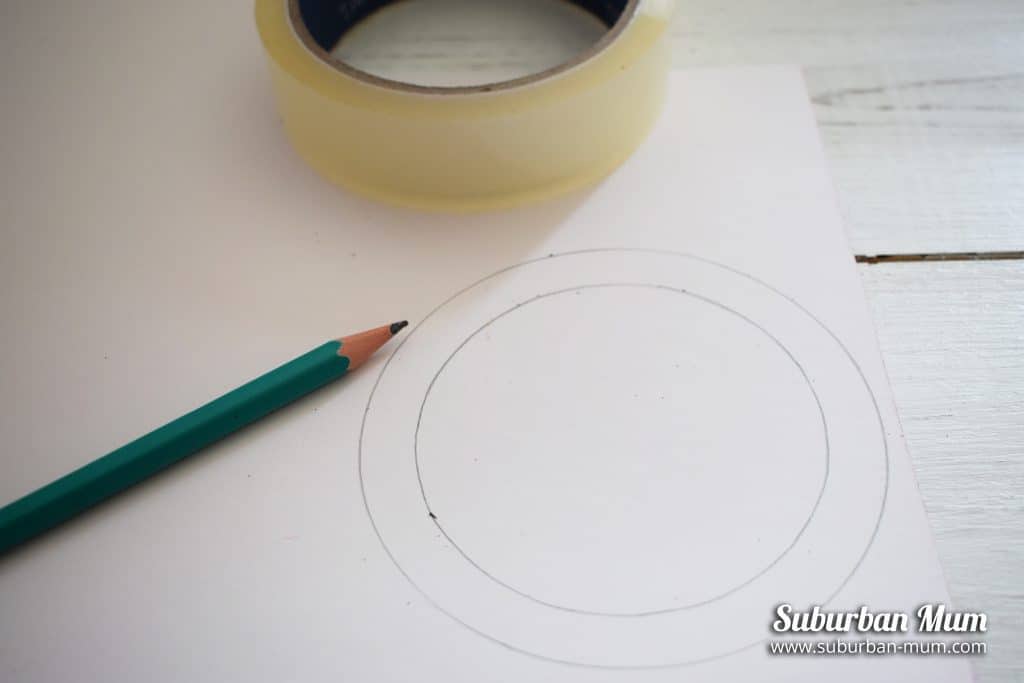
2. Cut the circle out
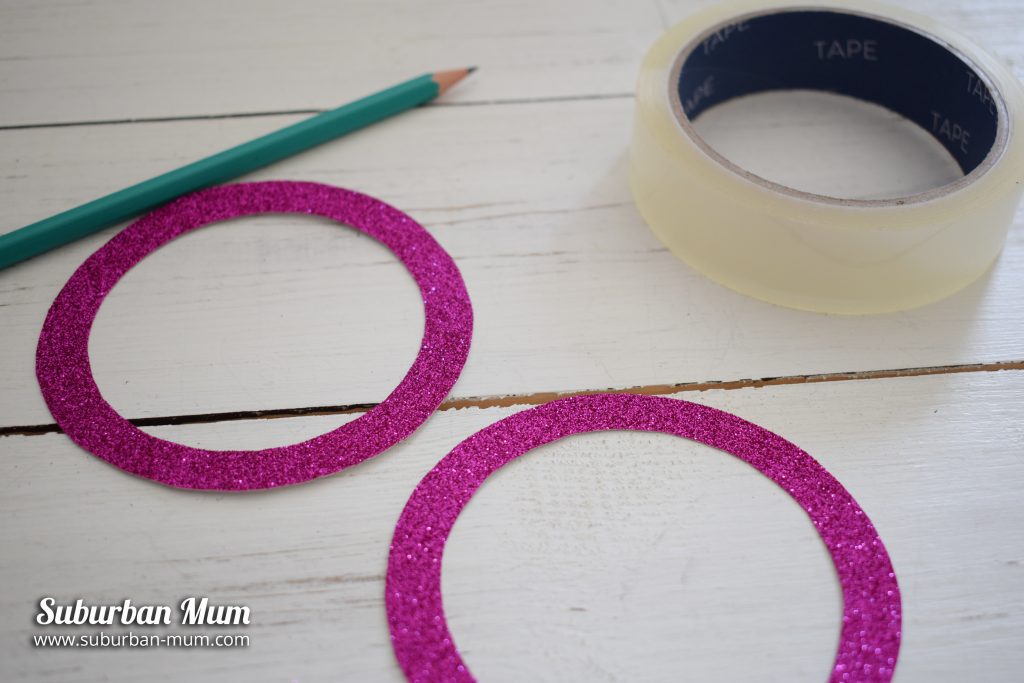
3. Now, cut the sticky back plastic to size and stick the circular card onto the plastic. Please note that if the card you are using has white backing (like mine), make sure the coloured size if face down onto the sticky side. You will also need two of these so that a coloured side shows up on both sides of the stained glass window
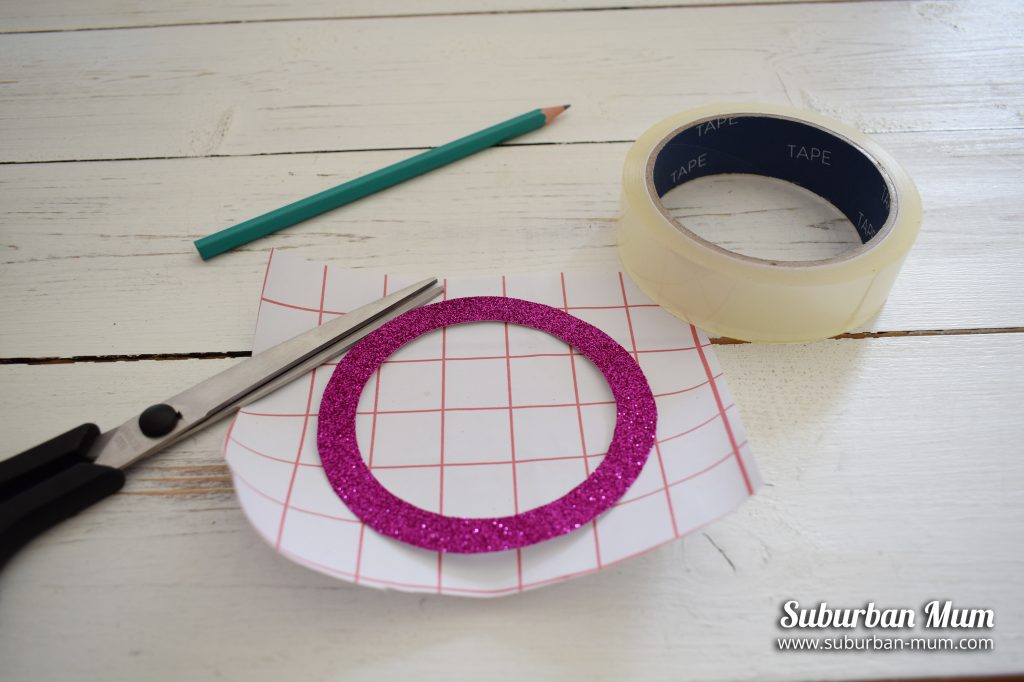
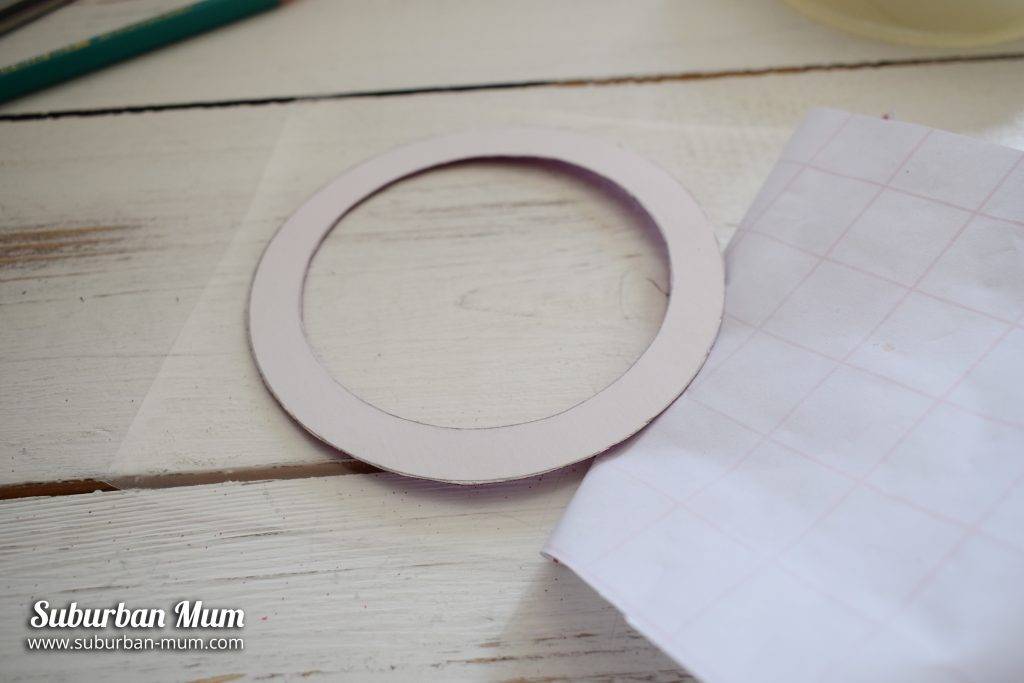
4. Arrange your flowers and leaves into a pattern and stick directly onto the plastic
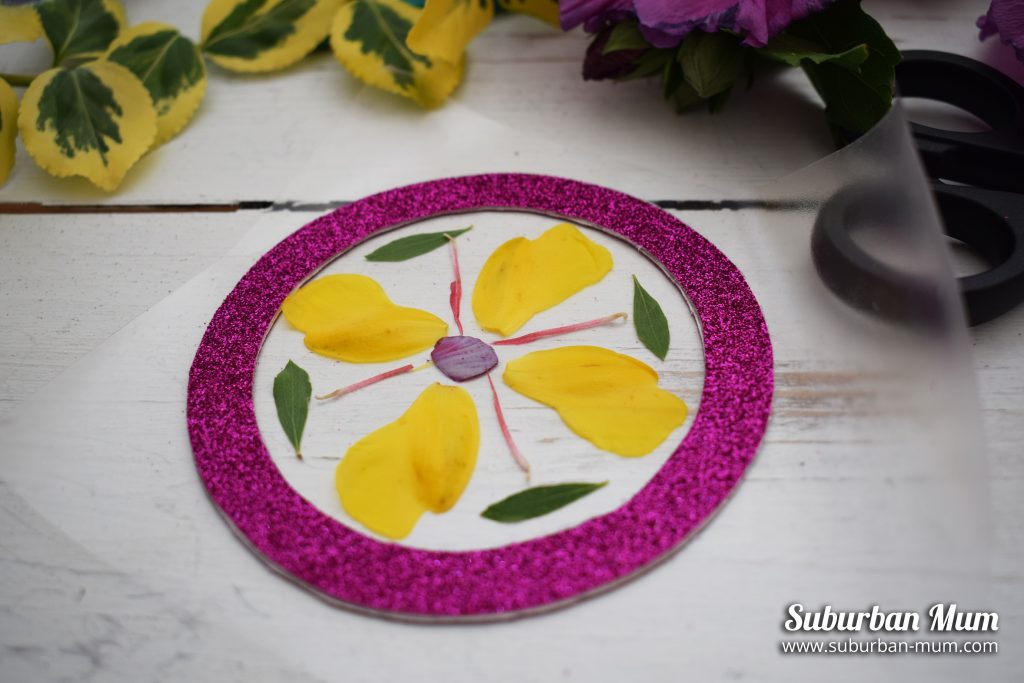
5. Once you are happy with the design, overlay the second circle on top and glue down. Cut another piece of sticky back plastic and stick over the top.
6. Finally, trim the sticky back plastic to the size of the circle
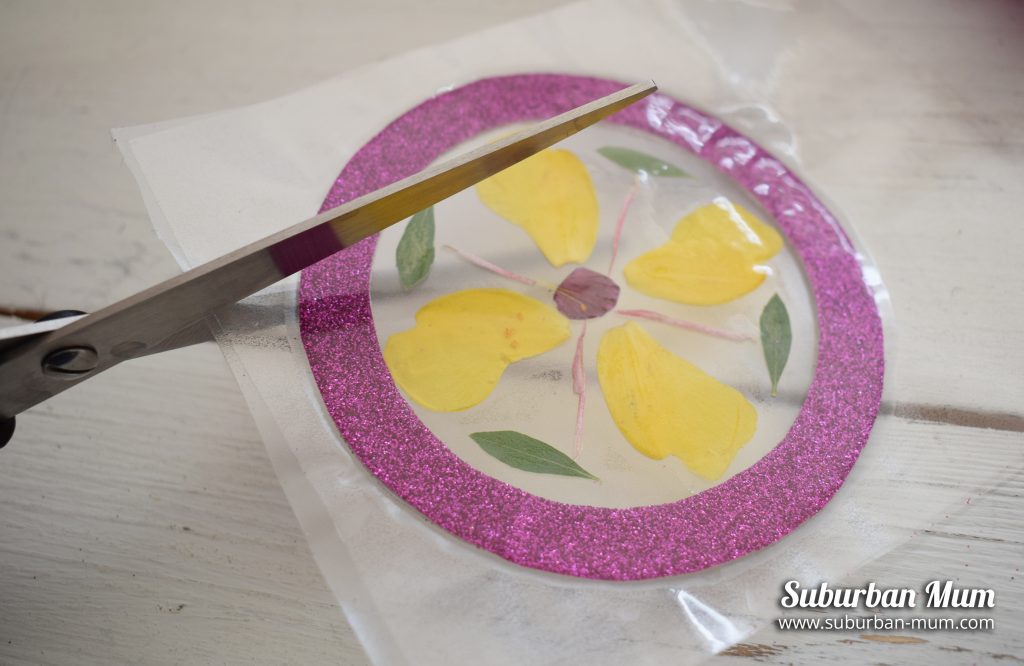
7. Stick to your window and enjoy!
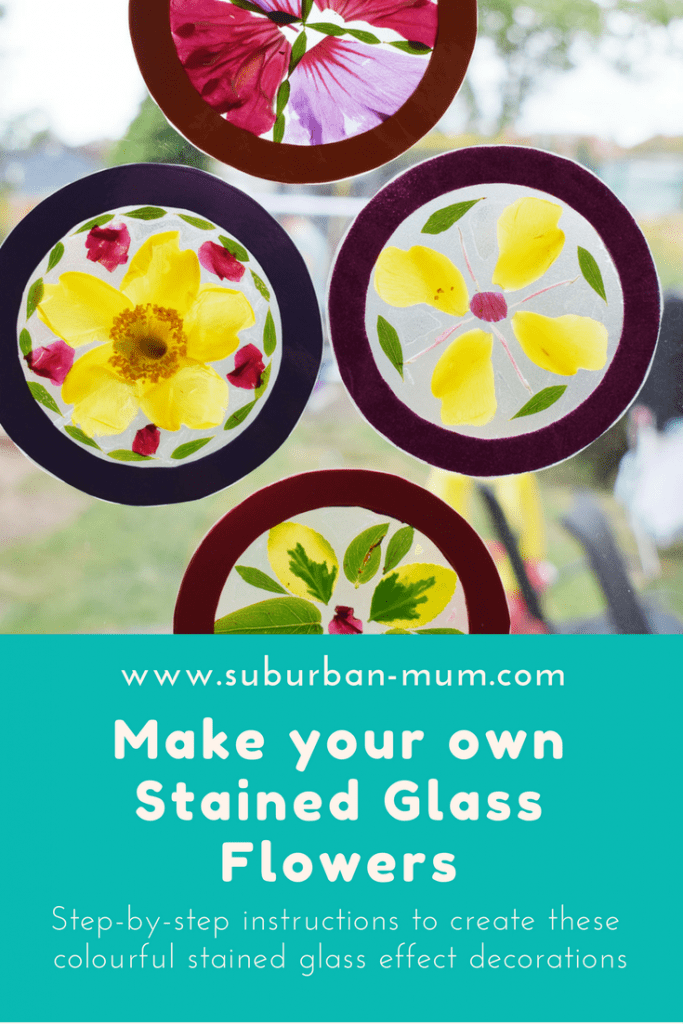
Pin it for later:
*I’m a Bostik Craft Blogger and we were sent a box of crafts from Bostik in order to create these items.


6 thoughts on “Craft Corner: Make your own stained glass flowers”
These look fab! Well done x
Oh I think these are lovely.I think my little ones would love these. What a great idea. xx
Pingback: 20 Nature Crafts with Bostik Bloggers | Tots 100
Pingback: 5 Great Gifts for Kids That Aren’t Toys -
Pingback: 5 Great Gifts for Kids That Aren’t Toys -
Pingback: Fun and simple flower activities for kids to make and learn | Suburban Mum