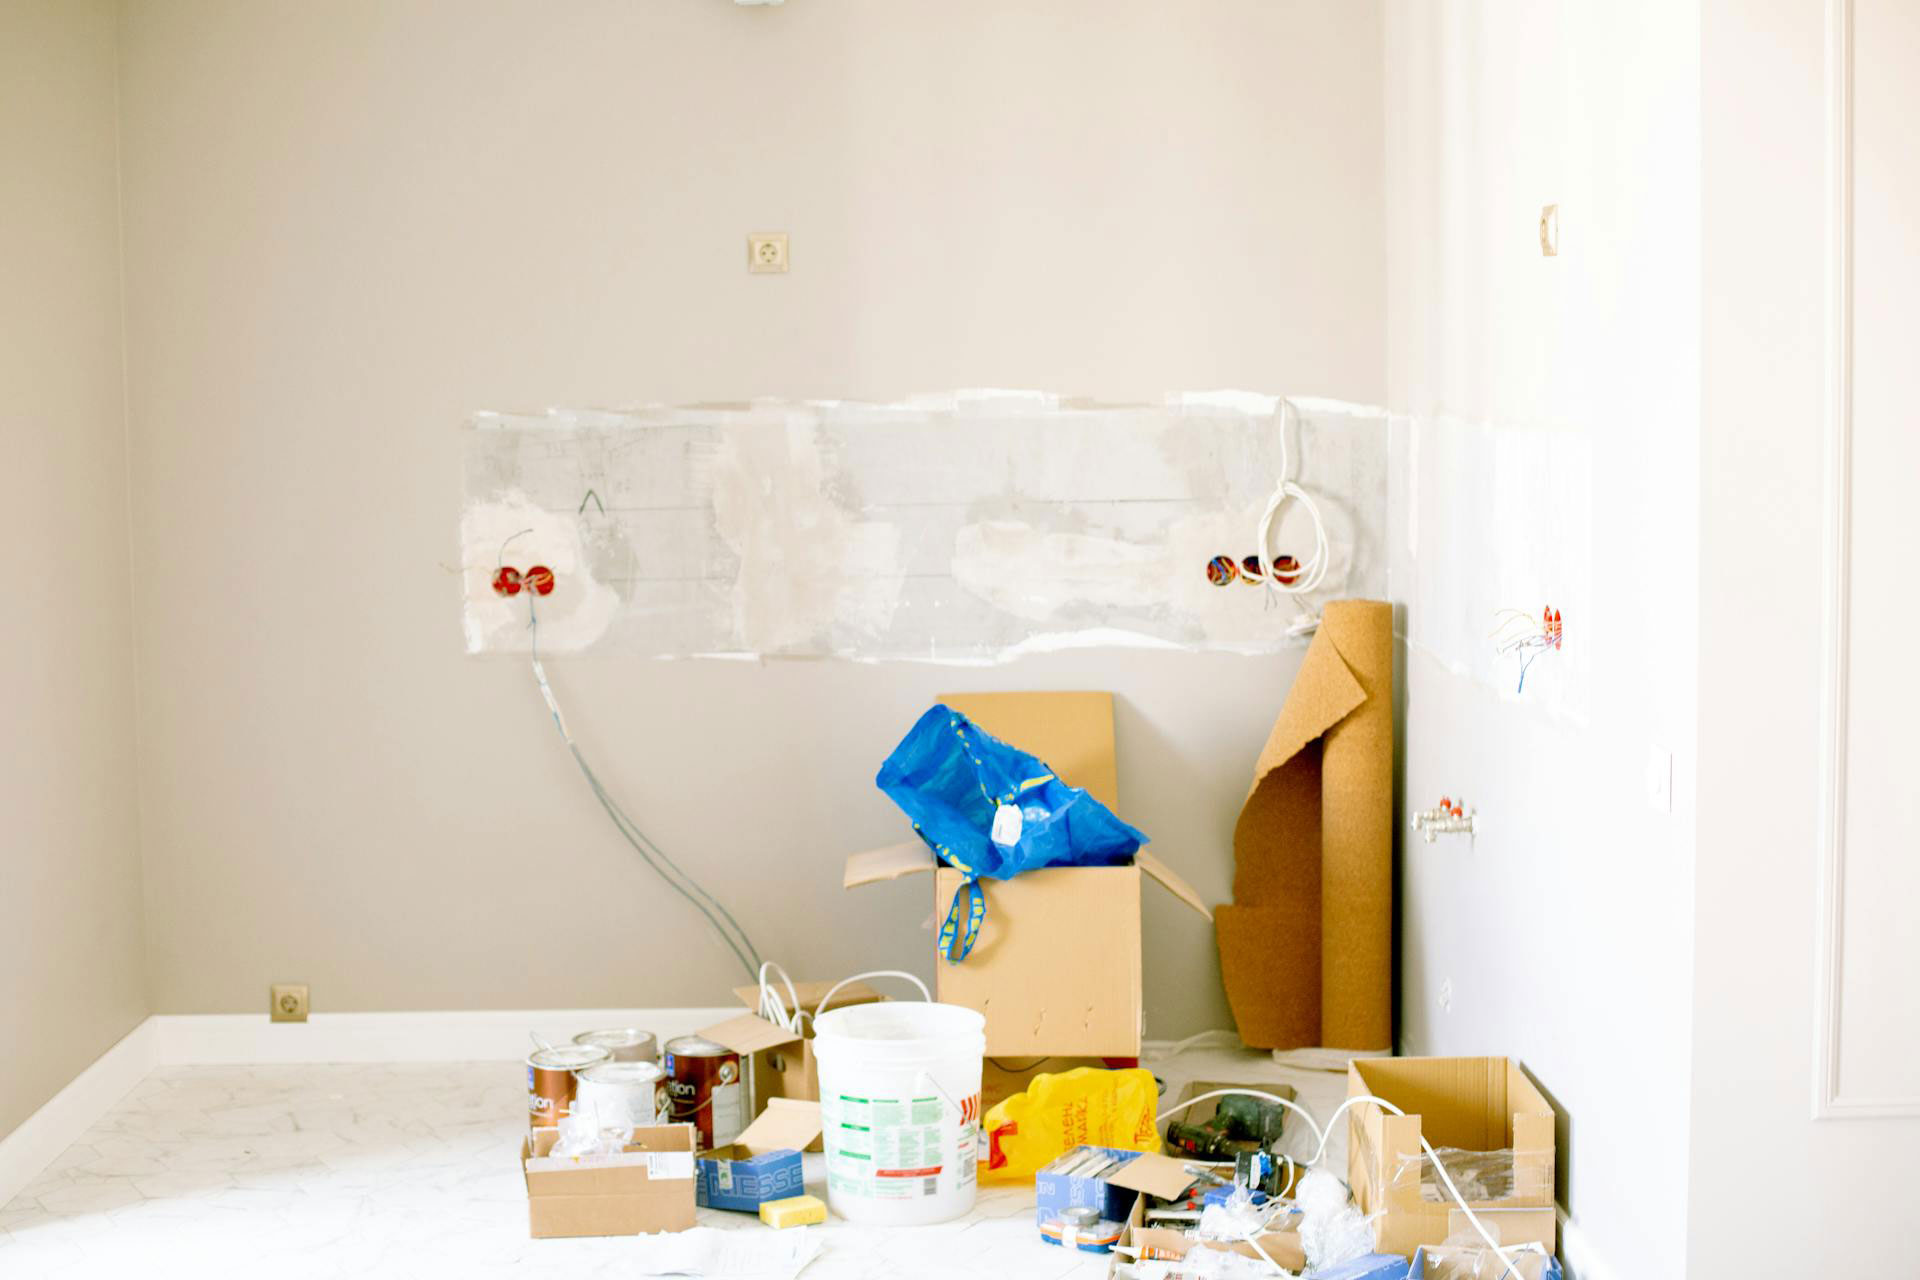
8 proven strategies for tackling the cleanup after renovation
Renovation is an intricate, exciting, and sometimes daunting process that breathes new life into our living spaces. It’s an endeavour that calls for meticulous planning, creativity, and attention to detail. As we peel away the old layers, each revealing a story of times past, we pave the way for fresh aesthetics and improved functionality. However, amidst the excitement of transformation, one must not overlook an undeniable part of the process – cleanup. The dust and debris post-renovation are often as monumental as the project itself. But before we delve into the strategies to tackle this challenge, did you know that the home renovation market in the United States is a booming $450 billion industry? Or that kitchen remodels alone can see a return on investment of up to 77.6%? Indeed, renovation is not just about change and improvement – it’s also an investment in our homes and, ultimately, in our lives.

1. Hiring a professional cleaning service or renting dumpsters
After the dust has settled, your first step should be considering the option of hiring a professional cleaning service or renting a dumpster. They are equipped with the tools, expertise, and manpower to handle the bulk of the cleanup, making the process efficient and less stressful. Also, dumpster rentals allow you to dispose of waste responsibly and legally, adhering to your local waste management laws. For instance, whether you choose Chattanooga dumpster rental or services in another city, ensure that they provide green and sustainable waste management solutions. Most importantly, remember to book these services well in advance, as they are often in high demand during peak renovation seasons.
2. Invest in protective gear
Ensure that everyone involved in the cleanup wears proper protective gear, including gloves, goggles, and dust masks to protect against potentially harmful dust and debris. It’s also essential to cover any ventilation systems in the home to prevent dust from spreading and causing respiratory issues. Furthermore, designate a specific area outside the home for workers to clean and dispose of their gear before entering. Even with professional cleaning services, it’s crucial to follow safety measures to protect yourself and your property. Most importantly, ensure that children and pets are kept away from the renovation site and any hazardous materials.
3. Organise as you go
This will prevent an overwhelming pile-up of debris and make the final cleanup more manageable. Have designated containers for different materials, such as wood, metal, and glass. This will not only save you time but also make recycling or donating salvageable items easier. Furthermore, label each container to ensure proper disposal and avoid mixing hazardous materials with regular waste. If possible, designate a separate area for reusable items to be stored safely. For example, you can repurpose old cabinets or doors for a DIY project in the future.
4. Use the right cleaning supplies
Stock up on heavy-duty trash bags, brooms, mops, dustpans, and vacuum cleaners. Specialised cleaning agents can also be handy for removing stubborn stains or residues. Be sure to read and follow the instructions for any cleaning products, especially those with harsh chemicals. As an alternative, you can also use natural cleaning solutions like vinegar and baking soda. In certain instances, hiring a professional steam cleaning service may also be necessary for deep cleaning carpets and upholstery.
5. Segregate waste
Segregate waste into categories like recyclable, non-recyclable, and hazardous. This process makes waste disposal easier and is environmentally responsible. Additionally, it’s essential to check your local waste management regulations for proper disposal of hazardous materials, such as paint or chemicals. Some cities offer special collection services for these types of waste. Furthermore, consider donating usable items and materials to local charities or organisations that can repurpose them. If you have leftover paint, consider donating it to a community centre or school for art projects.

6. Repurpose and recycle
Wood scraps, old fixtures, and other materials can often be repurposed or donated, reducing the amount of waste. You can also recycle metal, glass, and plastic items, reducing your carbon footprint. Additionally, consider using eco-friendly building materials for your renovation project to minimise waste in the future. Even small changes, like using energy-saving light bulbs or low-flow fixtures, can have a significant impact on the environment in the long run.
7. Deep clean post-renovation
Pay attention to the ventilation system to ensure that dust doesn’t circulate through your newly renovated home. Wipe down all surfaces, including walls, ceilings, and floors. Don’t forget to clean light fixtures and ceiling fans as well. Launder any fabrics that may have collected dust during the renovation process. Additionally, consider hiring a professional deep cleaning service for a thorough and efficient cleaning job.
8. Inspect and final touch-up
This is also the time for any last-minute touch-ups to your beautiful, newly renovated space. Inspect your walls, floors, and fixtures for any damages or imperfections. Touch up paint and fix any loose tiles or fittings. Once you’re satisfied with the results, take a moment to appreciate the transformation of your living space. Furthermore, don’t forget to properly dispose of any remaining waste and clean up the site entirely, leaving it in pristine condition.
Cleanup after renovation may seem like an overwhelming task, but with proper planning and organisation, it can be tackled efficiently and effectively. By following these 8 proven strategies, you can ensure a smooth and stress-free cleanup experience, leaving your home looking and feeling refreshed. Remember, renovation is not just about the end result – it’s also about the journey and taking care of our homes for years to come. So, take pride in your newly renovated space and enjoy the fruits of your labour!
![[AD] ✨ Festive magic for local families in the heart of Guildford ✨
We had the loveliest evening exploring the @guildfordilluminate light trail at Guildford Castle
The trail takes around 30–40 mins
with cosy stops for hot chocolate and toasting marshmallows, it’s a gorgeous Christmas activity for Surrey families.
It’s on until 4th January and makes the perfect festive plan:
🛍️ Christmas shopping in town
✨ The light trail
🍽️ Finish with dinner in Guildford
If you’re looking for a magical, stress-free festive outing with the kids — this is one to add to your Christmas list
📍 Guildford Castle, Castle St, Guildford GU1 3SX
#GuildfordWithKids #SurreyFamilies #ChristmasInSurrey](https://suburban-mum.com/wp-content/uploads/2018/09/589257185_18566118850016840_4432952740767953046_n-180x320.jpg)
![[AD] We went to the newly opened Cha Sha Kingston a couple of weeks ago, and wow — taste bud adventure unlocked! The boys devoured the masala fries and chicken tikka rolls, while we couldn’t get enough of that epic kebab butter curry 😍🍛.
It’s amazing value for food this tasty (and everyone left happy and VERY full!).
Delicious food, vibrant vibes and incredible value — the perfect combo for your next meal.
📍Cha Sha Kingston
43 Surbiton Road, KT1 2HG
🌐 chasha.co.uk
Other Cha Sha locations in Birmingham, Ilford, Southampton and Wembkey
#ChaSha #ChaShaKingston #KingstonEats #FoodieFinds #UKFoodie #FoodReview #KingstonUponThames #FamilyEats #FamilyDining #FoodieKids](https://suburban-mum.com/wp-content/uploads/2016/02/574770541_18560351146016840_6855048070839528040_n-180x320.jpg)

![[AD] We’re a cricket-mad family, so we’re buzzing that @thehundred is back this August! 🏏🔥
To get ready, M tried out the official FREE Activity Pack — and it’s brilliant! 🙌
Packed with fun games, creative challenges and sporty tasks, it’s perfect for getting kids hyped whether you’re at home or on the go.
👉Download yours now (link in bio)
@londonspirit @ovalinvincibles #EveryMomentCounts #TheHundred
#EnglandCricket #CricketFamily #TheHundredCricket #LondonBloggers #Cricket #CricketIsLife #kidsfun](https://suburban-mum.com/wp-content/uploads/2022/11/505472555_18531279601016840_7092520074819907569_n-180x320.jpg)


![[AD - Press visit]
We enjoyed the glorious sunshine this weekend with a trip to Brighton. We went on the @brightoni360official which is right by the sea front.
The i360 pod take a slow journey up, allowing you to take in views across Brighton and the South Downs 450ft above ground. There’s a bar inside with drinks and snacks available to purchase and the experience lasts 25 minutes.
Afterwards, we headed to the open air roller rink for a roller skating session!
The roller rink is:
⭐ Suitable for over 5s
⭐ £6.50 if you have your own skates or £9.50 if you need to hire them
⭐ 45 minutes per session
Full details to visit the i360 + skating
📍 Brighton i360, Lower Kings Road, Brighton BN1 2LN
🚗 Parking nearby (we parked in the Regency Square Car park)
🎟️ Prices start from £25.40 for an adult and £16.90 for a child
🕐 Opening hours are currently Sun-Fri 10.30am-18.30pm and until 19.30pm on Saturdays
☕️ Bar inside the i360, cafe and gift shop
Book tickets here:
https://tickets.brightoni360.co.uk/tickets/?_ga=2.195305772.1869001490.1689671753-1757164059.1689671753/#events?eventid=157](https://suburban-mum.com/wp-content/uploads/2015/04/417980235_313576471048632_3682382982231216432_n.jpg)

![[AD] ***Summer of fun at Barracudas Activity Camps!****
There is plenty for kids to do at @barracudas_activity_day_camps
From Tennis, Archery, Swimming, Motor Sports and more you can be sure that there will be something for kids aged 4.5-14. ⚽🏈🥅🎾🏓🏎️🏹🏊♂️🏉
You can book on a day by day basis - so it can fit in with any other days out/activities you have planned and there are early drop off and late pickup options available. Barracudas are also Ofsted registered so you can use your Childcare Vouchers too.
⭐⭐⭐Get £20 off a week or £4 off a day using my discount code: MARIA20⭐⭐⭐
#BarracudasActivityDayCamp #BarracudasActivityCamp #BarracudaAmbassadors #SummerHolidays #SchoolHolidays #Summer2023 #SummerCamp #DayCare #Camp #KidsCamp #surreymummy #surreymums #SummerOfFun #ActivityCamps #HolidayCamps #Childcare #SchoolHolidays #schoolholidaycamps](https://suburban-mum.com/wp-content/uploads/2024/07/353583570_625625966167953_545896259645102575_n.jpg)


![[AD] We have some super exciting news...we have been chosen to be Laser Quest Ambassadors, and the boys are over the moon!
We are really lucky that our local Laser Quest (@laserquestkingston) is just around the corner from us. It means we can pop in of a weekend or anytime during the school holidays, and with summer just around the corner, I know Laser Quest will be one of our go-to places for some family fun.
As well as games of Laser Quest, there are also VR experiences and arcade amusements too. To find out a bit more about how Laser Quest works, you can read my blog post: https://www.suburban-mum.com/laser-quest-kingston/ (clickable link in bio)
Don't forget to keep an eye out for our Laser Quest posts - I'm going to be giving away two family passes to use at Laserquest Kingston!
If you can't wait and want to head down to Laser Quest to try it out, use the code SUMMER30 for 30% off your booking. The code is valid from now until the end of August 2023 and can be used on Laser Quest games and birthday party bookings.
#LaserquestAmbassador #Laserquest #LaserquestKingston #ActivitiesForKids #FamilyFun #DaysOutWithKids #Lasertag #LaserquestVR #Kingston #ThingsToDoInKingston #SurreyFamilyDaysOut #ThingsToDoWithKids #RainyDayFun #SurreyMummy #SurreyLife #LifeWithKids #LifeWithBoys #familyfunday](https://suburban-mum.com/wp-content/uploads/2015/04/353230107_797358078406942_2405522556733455165_n.jpg)

![[AD] The sun has finally made an appearance and the boys have been making the most of it by spending it
in the garden.
They’re go-to is always football and they’ve been trying to improve their aim and accuracy with the new Messi Foldable Footlball goal from the #MessiTrainingSystem range.
I love the fact the goal is foldable, making it easy to store away when not in use. It is also lightweight so you can effortlessly pack it up and take it to the park or to a friend’s house.
The Messi Foldable Football Goal retails at £36 and can be purchased from @argos
You can read my full review here: https://www.suburban-mum.com/messi-foldable-football-goal/
#TrainLikeMessi #FoldableFootballGoal #FootballSkills #OutdoorFun #LionelMessi #LeoMessi #FootballAtHome #OutdoorKids #JustGetOutside #OutdoorsAndFree #ScreenFreeKids #WhateverTheWeatherKids @flair_gp](https://suburban-mum.com/wp-content/uploads/2015/04/341194882_615024710178056_41977149395989448_n.jpg)

![[AD] We are absolutely thrilled to announce that we are Barracuda Ambassadors again this year.
With Easter just around the corner, the boys were sent the @barracudas_activity_day_camps new camp kit in preparation for the school holidays.
There’s a wide range of activities for kids aged 4.5 - 14 including Tennis, Archery, Basketball, Arts & Crafts and more.
If you like the sound of Barracudas, find out more over on their website. You can also save £20 a week or £4 a day, using my discount code: MARIA20](https://suburban-mum.com/wp-content/uploads/2024/07/336812306_765234558514317_685553691647241974_n.jpg)


